
Remove Glare from Photo Online with AI
Upload a portrait, window photo, flash-lit snapshot, or glossy product image. This focused AI glare remover reduces distracting reflections and bright hotspots while protecting eyes, skin texture, labels, colors, materials, and the rest of the scene.
Best for mild to strong glare when some surrounding detail remains visible. If a reflection or blown highlight completely hides the subject, AI creates plausible replacement detail rather than recovering original pixels that were never captured.
Use the highest-quality original you have. Moderate reflections with visible nearby detail are easier to reduce naturally than fully blown-out white areas.
Name the surface and location, such as “ring-light glare on both lenses,” “ceiling-light reflection in the window,” or “flash hotspot across the product label.”

One AI Glare Remover for Four Common Photo Problems
Glare can be a lens reflection, a second scene mirrored in glass, a flash hotspot, or a bright streak on glossy packaging. The prompt identifies the surface, limits the edit, and protects the details that matter.
Targets the Reflective Area
Describe the lenses, window, face, label, screen, bottle, or other surface so AI knows exactly where the unwanted glare appears.
Protects Important Detail
The included instructions preserve identity, iris color, eyeglass frames, skin texture, product text, logos, colors, materials, lighting, and composition.
Rebuilds Only When Needed
Where glare hides visible texture, AI generates a plausible continuation from nearby context instead of blurring the area or darkening the entire photo.
Remove Glare from Photos in Four Real-World Scenes
Use the same focused workflow for portraits, photos through glass, direct-flash snapshots, and reflective product surfaces.
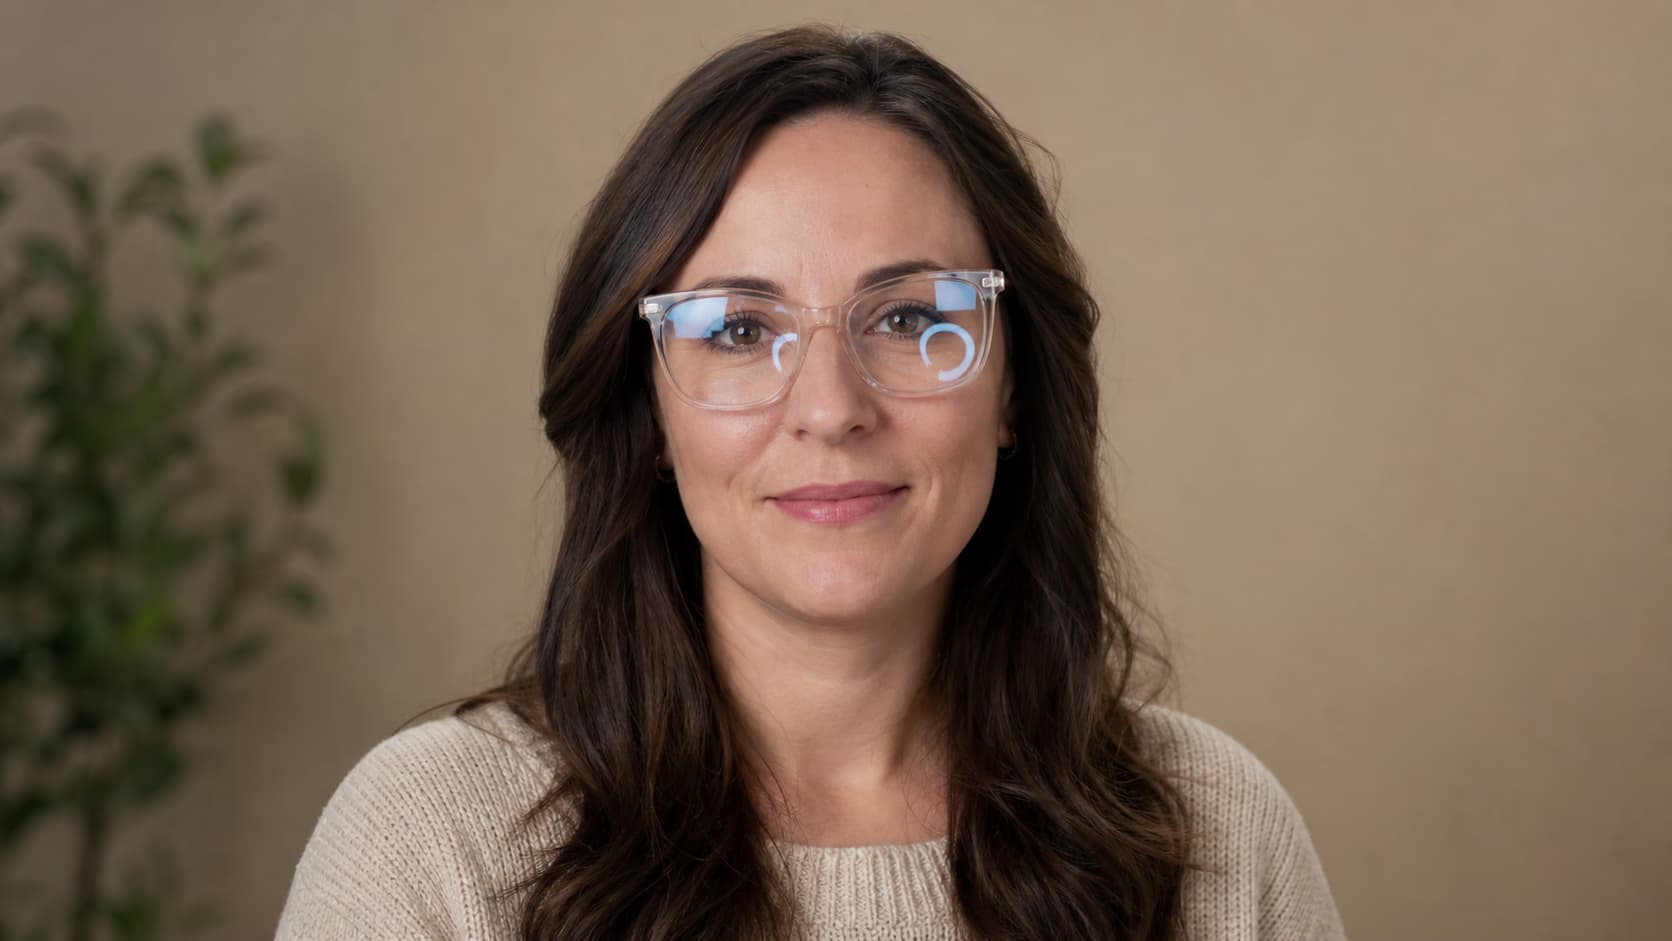
Remove Glasses Glare and Reveal the Eyes
Reduce ring-light, window, monitor, or flash reflections on eyeglass lenses while keeping iris color, eye shape, frame geometry, skin tone, expression, and natural lens sheen consistent.

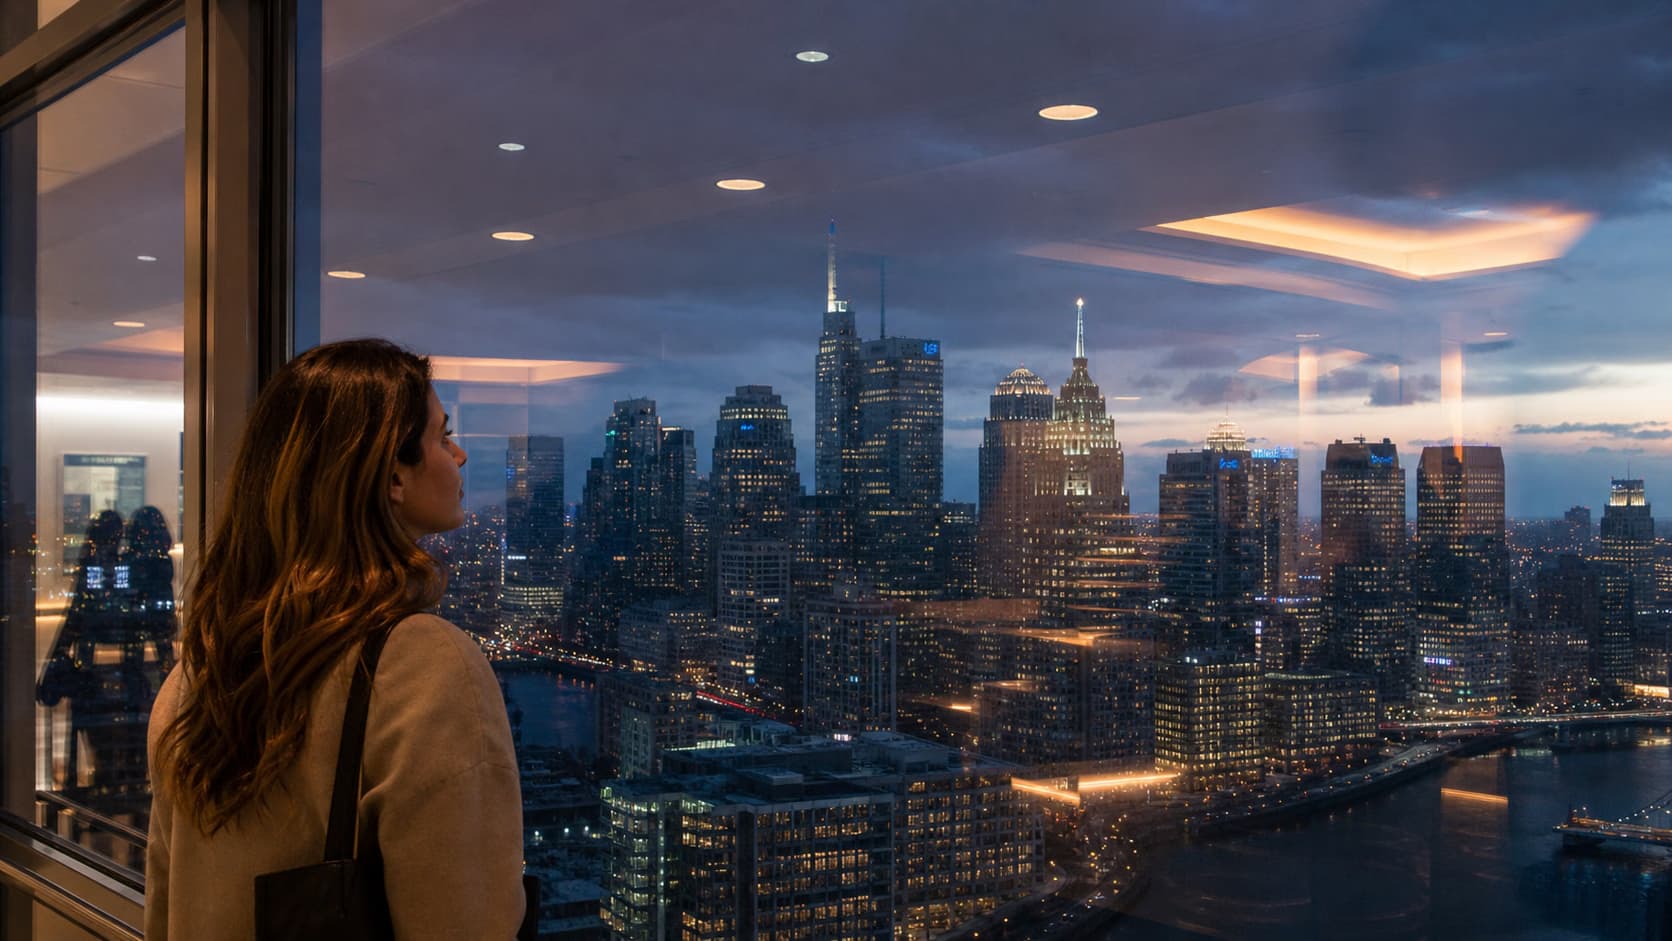
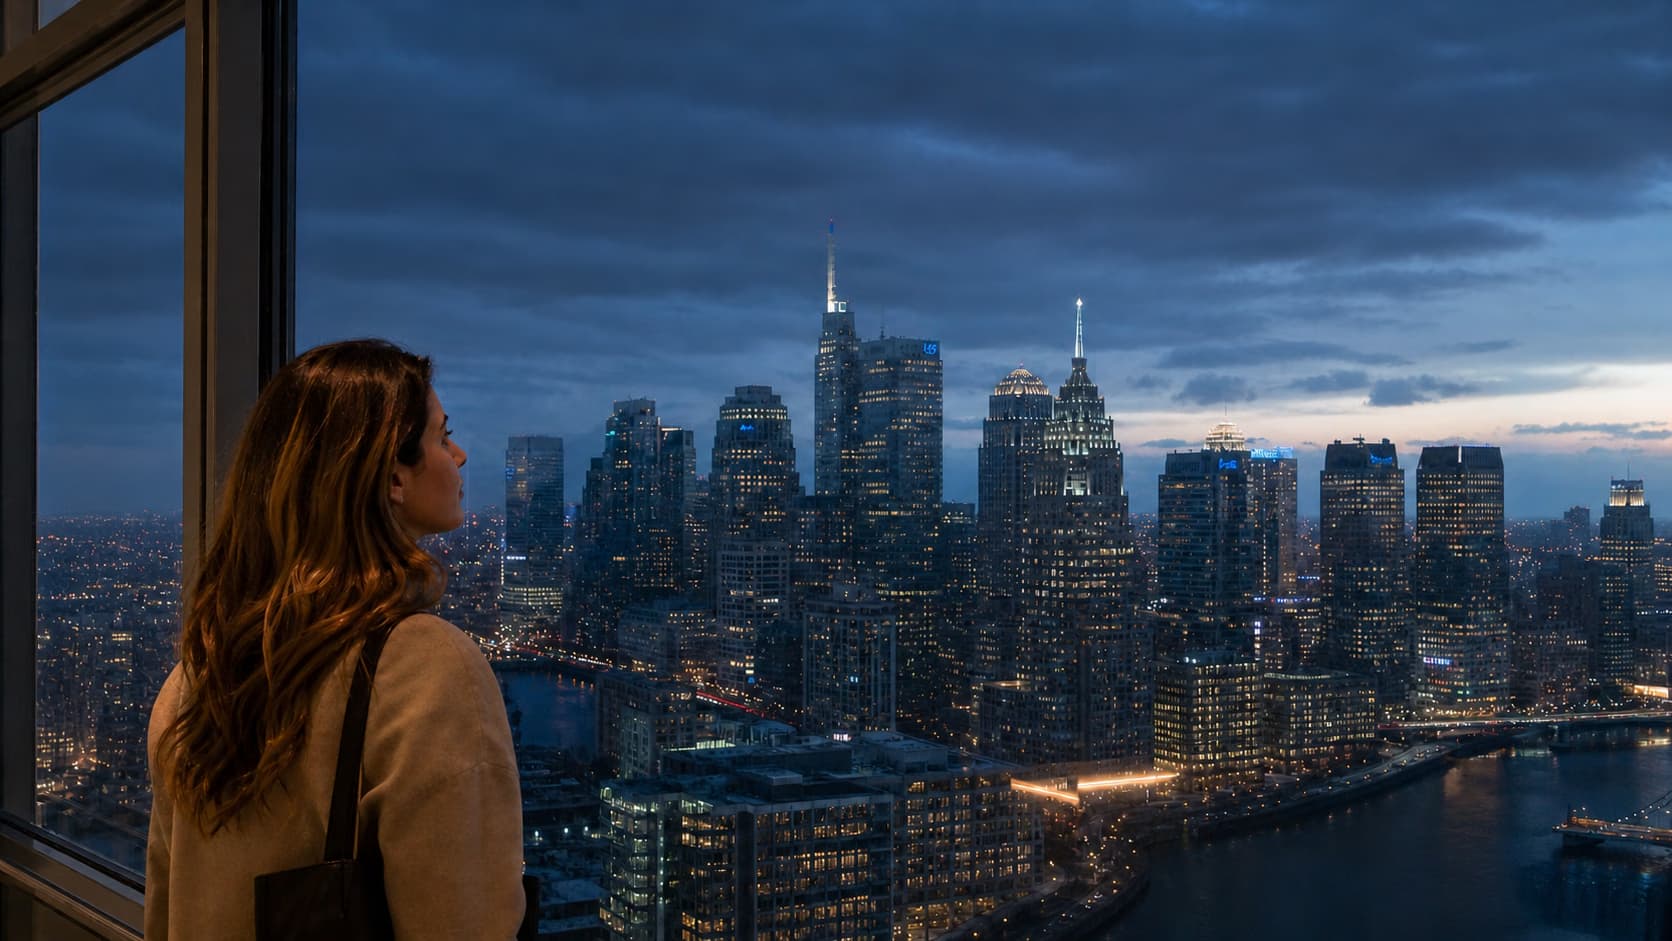
Remove Reflections from Glass and Windows
Clean up indoor lights and room reflections layered over a window, display case, framed picture, or glass door without replacing the real subject behind the glass.
Fix Flash Glare and Harsh Hotspots
Tone down bright flash spots on a forehead, cheek, framed photo, artwork, or nearby reflective surface while retaining real skin texture and dimensional highlights.


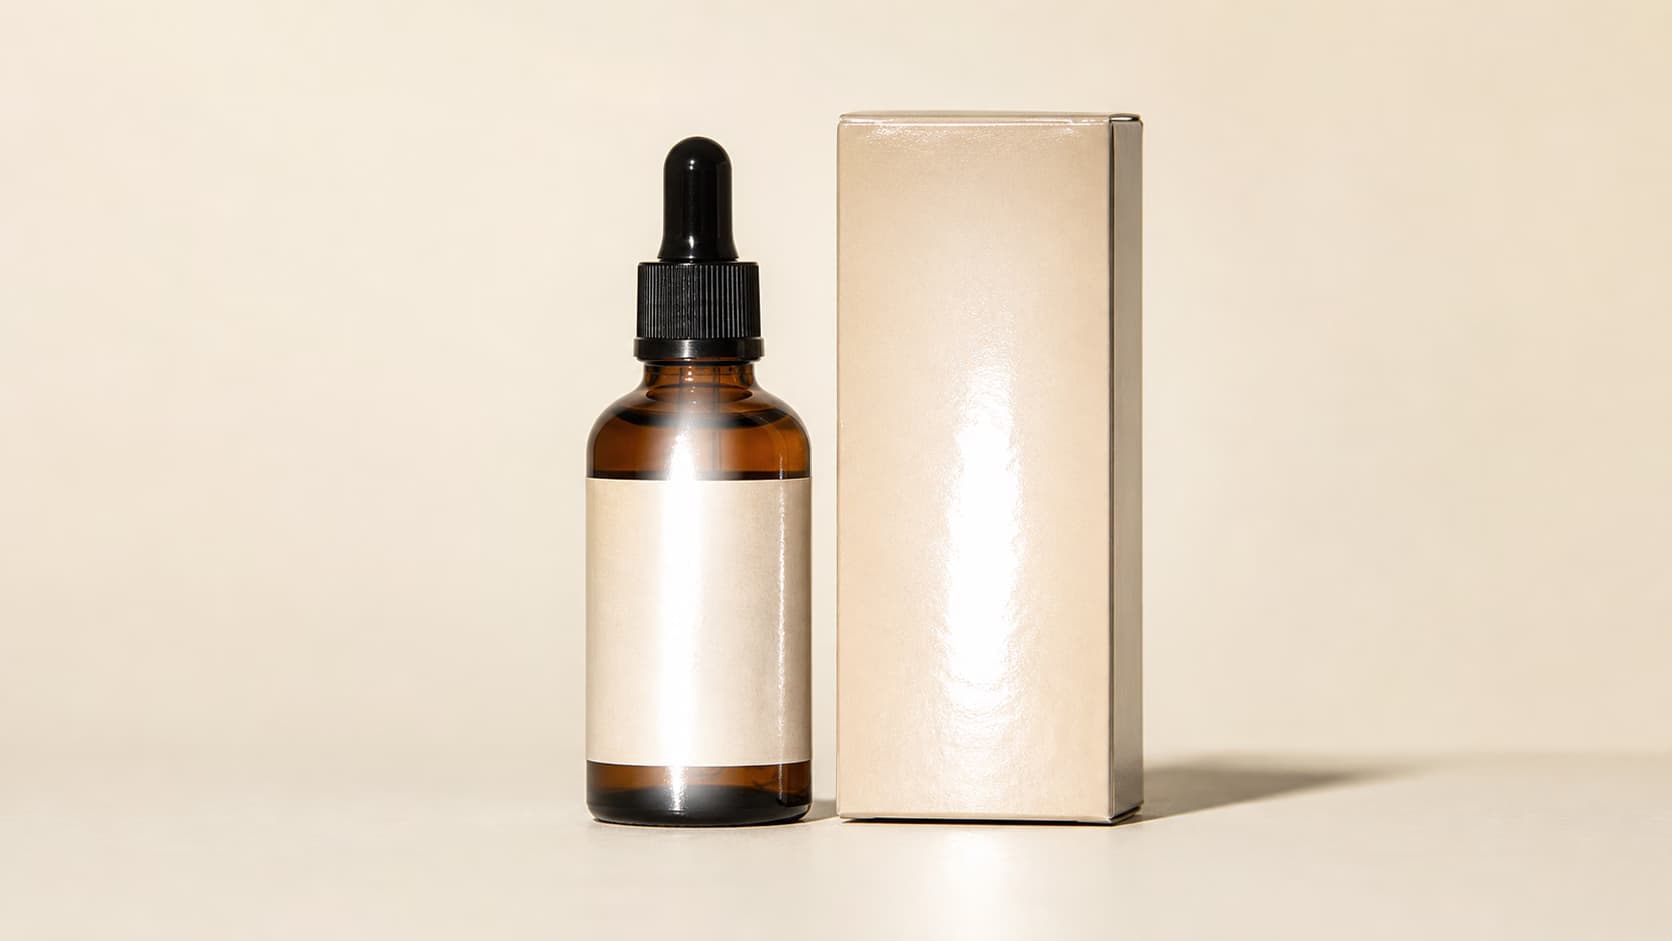
Clean Up Glare on Product Photos
Reduce hard reflections on glass, plastic, screens, metal, jewelry, bottles, and glossy packaging while keeping labels, logos, color, finish, silhouette, and shadows accurate.
How to Remove Glare from Photo Online
Start with the original image, identify the reflective surface, and inspect the cleaned area before downloading.
Upload the Original Photo
Choose a clear JPG, PNG, or WebP with enough resolution to inspect the eyes, label, texture, or scene hidden by the glare.
Identify the Glare
Name the surface and position, for example both eyeglass lenses, the upper-right window, the flash spot on a forehead, or the center of a bottle label.
Say What Must Stay Unchanged
Keep the preservation instructions for identity, text, logos, color, materials, lighting, crop, and unrelated details. Add a specific item only when your photo needs it.
Generate, Compare, and Refine
Compare the result with the source at full size. If the edit is too strong or misses one reflection, ask to reduce it more gently or identify a smaller target area.
When an AI Glare Remover Helps Most
Use it when a photo is worth keeping but a reflection, hotspot, or shiny patch blocks the detail people need to see.
Headshots and Portraits
Reveal eyes behind eyeglass reflections and reduce distracting ring-light or flash glare without turning the portrait into a beauty-filter edit.
Windows and Travel Photos
Reduce room reflections from photos taken through observation decks, vehicles, aquariums, museums, storefronts, and other glass barriers.
E-commerce Product Images
Make bottles, jars, phones, screens, jewelry, plastic packs, and glossy boxes easier to inspect without changing the product design.
Documents, Artwork, and Frames
Clean a flash spot or overhead-light reflection from photographed documents, menus, certificates, paintings, posters, and framed family photos.
Events and Everyday Photos
Rescue a useful party, family, or phone photo when a direct flash creates a shiny forehead, bright cheek, or white reflected patch.
Property and Interior Photos
Reduce reflections on windows, mirrors, polished floors, glass tables, appliances, and screens while keeping the room geometry believable.
Get More Natural Glare-Removal Results
Glare removal works best when the prompt names the reflective surface and the original photo still contains enough context to guide a restrained edit.
Before You Generate
- Use the original-resolution image rather than a compressed screenshot or social-media download.
- Name one surface and location instead of asking to remove every bright area in the picture.
- Say “reduce glare” when you want to keep realistic material shine or lens reflections.
- Mention the details that must stay exact, such as iris color, label text, logo, product finish, or window frame.
Common Problems and Better Instructions
A Focused Prompt-Based Editing Workflow
The page narrows the edit to one task, tells the model what must stay unchanged, and asks you to review the result before using it.
Task-Specific Prompt
A detailed instruction is prefilled for this exact edit, including the target change and the details that should be preserved.
Preservation First
The prompt treats your uploaded image as the base canvas and limits unnecessary changes to identity, composition, lighting, and background.
Review Before Use
Generative edits can vary. Zoom into the changed area and the surrounding details, then refine the prompt and regenerate when needed.
Built around honest editing boundaries
No fake recovery claims
AI generates plausible replacement pixels; it cannot recover hidden source detail that was never captured.
No imaginary controls
This workflow uses image upload and text prompts, not a brush, mask, color picker, or batch editor.
One clear task
The page stays within its stated use case instead of behaving like an unrelated general-purpose generator.
AI Glare Remover FAQ
How do I remove glare from a photo online?
Can AI remove glare from glasses in a photo?
Can it reveal eyes completely hidden by glare?
Does it remove reflections from windows and glass?
Can I remove flash glare from a face?
Does the glare remover work on product photos?
Will removing glare reduce image quality?
Is this the same as lowering highlights?
Can I use it without Photoshop?
What photos are hardest to fix?
Keep the Photo, Remove the Distraction
Upload the original image, identify the reflective surface, and reduce glare while protecting the details that make the photo useful.