
Remove Braces from Photo Naturally with AI
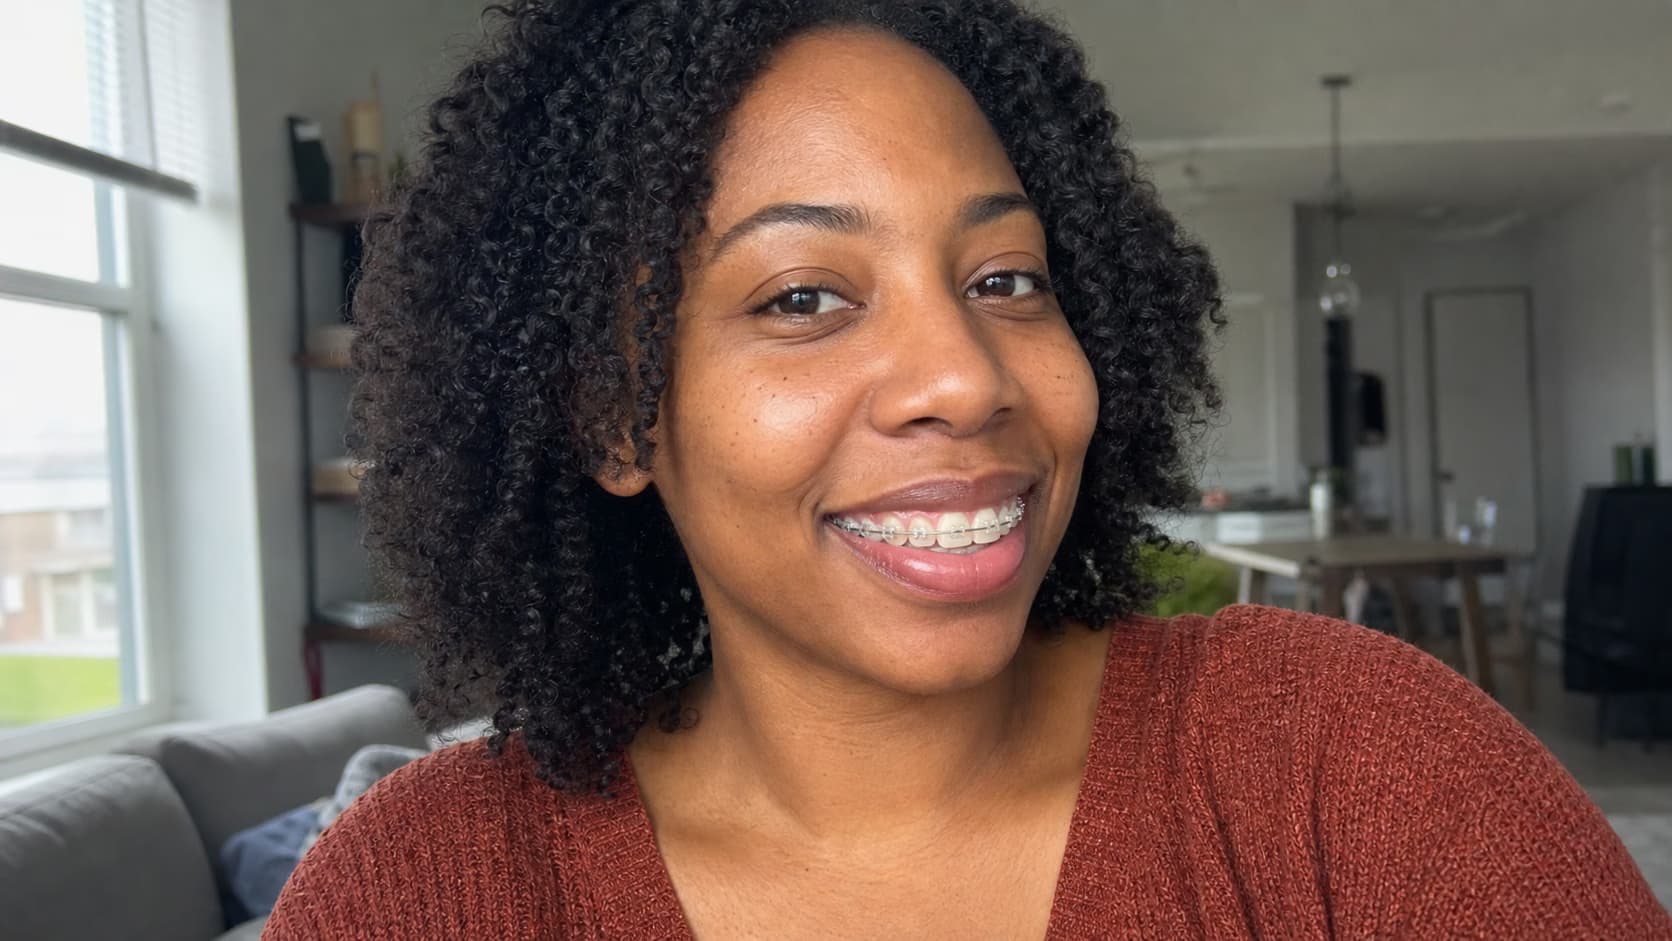
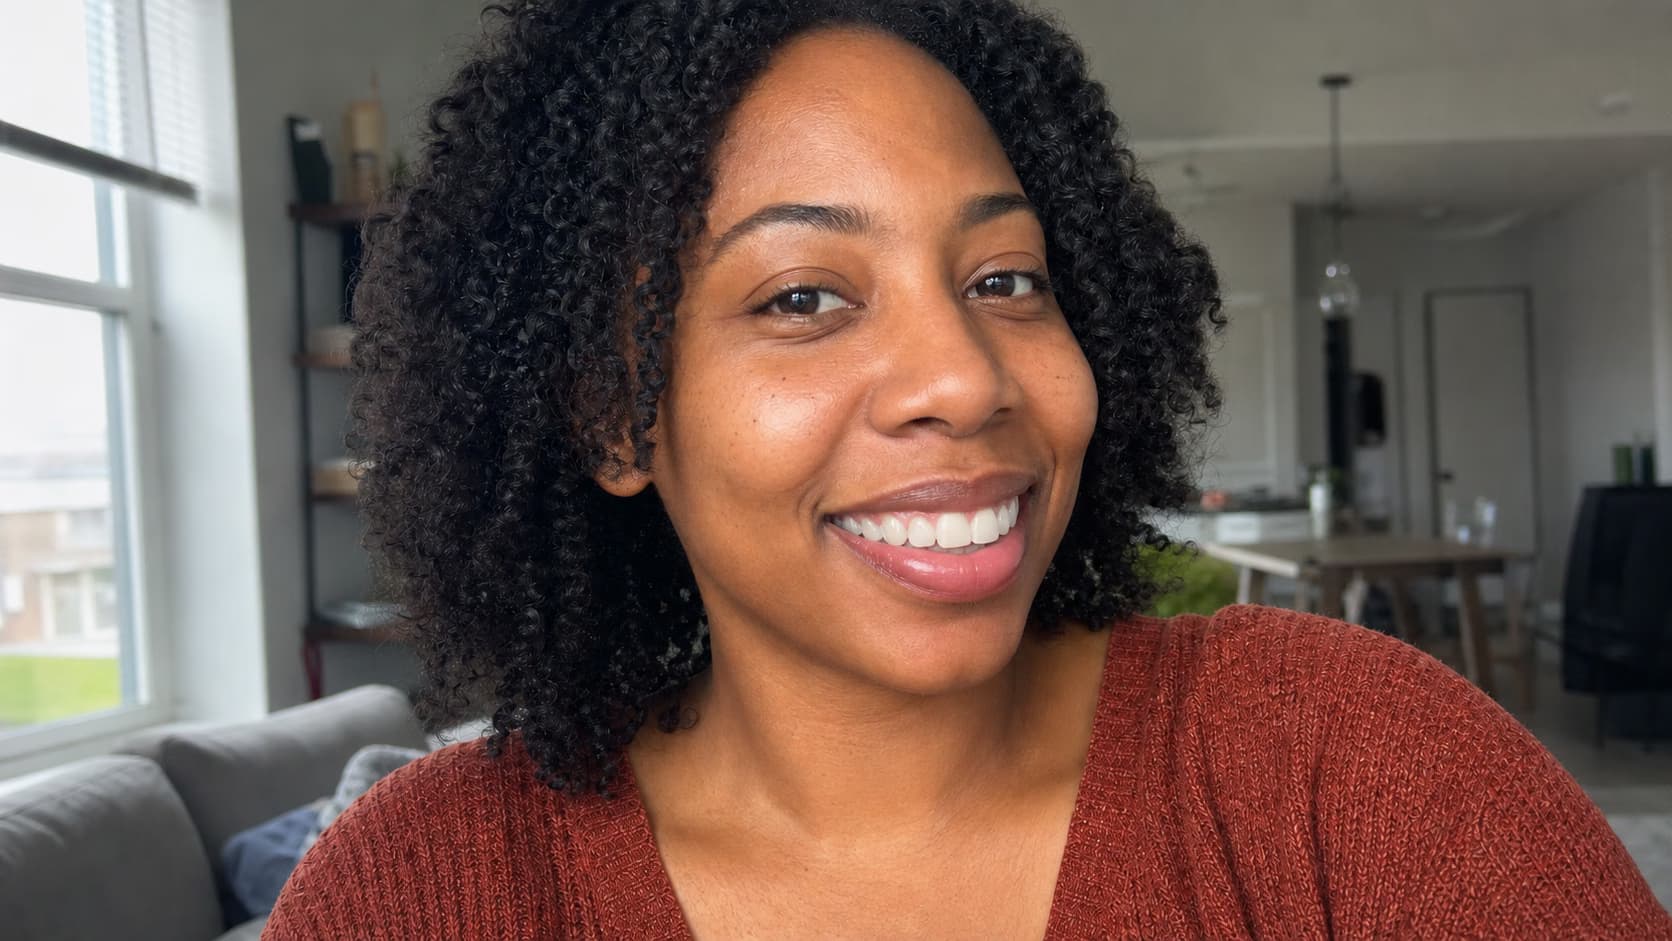
Upload a selfie, headshot, graduation portrait, or family photo and remove visible brackets, wires, and bands. This focused AI braces remover keeps the person’s existing tooth color, alignment, gums, lips, expression, and every unrelated detail as close to the original as possible.
AI creates plausible tooth detail from the visible edges around the braces. It cannot recover pixels hidden by orthodontic hardware or predict the exact smile someone will have after treatment.
Use the clearest original photo available. A well-lit, in-focus smile with visible tooth edges gives the AI more real detail to match.
The focused prompt is already included. For a group photo or partial braces, identify the person and specify upper, lower, or both rows.

Remove Braces from Photo Without a Smile Makeover
The Remove Braces from Photo workflow targets orthodontic hardware without whitening, straightening, or redesigning teeth, protecting the smile that belongs to the person.
Removes Visible Hardware
The prompt targets visible metal or ceramic brackets, archwires, hooks, bands, elastics, and adhesive instead of replacing the entire mouth.
Keeps the Person’s Smile
Current tooth alignment, size, shape, natural shade, gaps, gums, lips, smile width, expression, and facial identity are explicitly protected.
Rebuilds Only What Is Covered
AI infers a plausible continuation of each covered tooth from visible edges, translucency, gumline, light, and inter-tooth shadows. It does not reveal hidden original pixels.
Remove Braces from Photo Without Replacing the Smile
Use Remove Braces from Photo for a braces-only edit, then compare the surrounding teeth, gums, lips, expression, identity, lighting, crop, and background with the original.
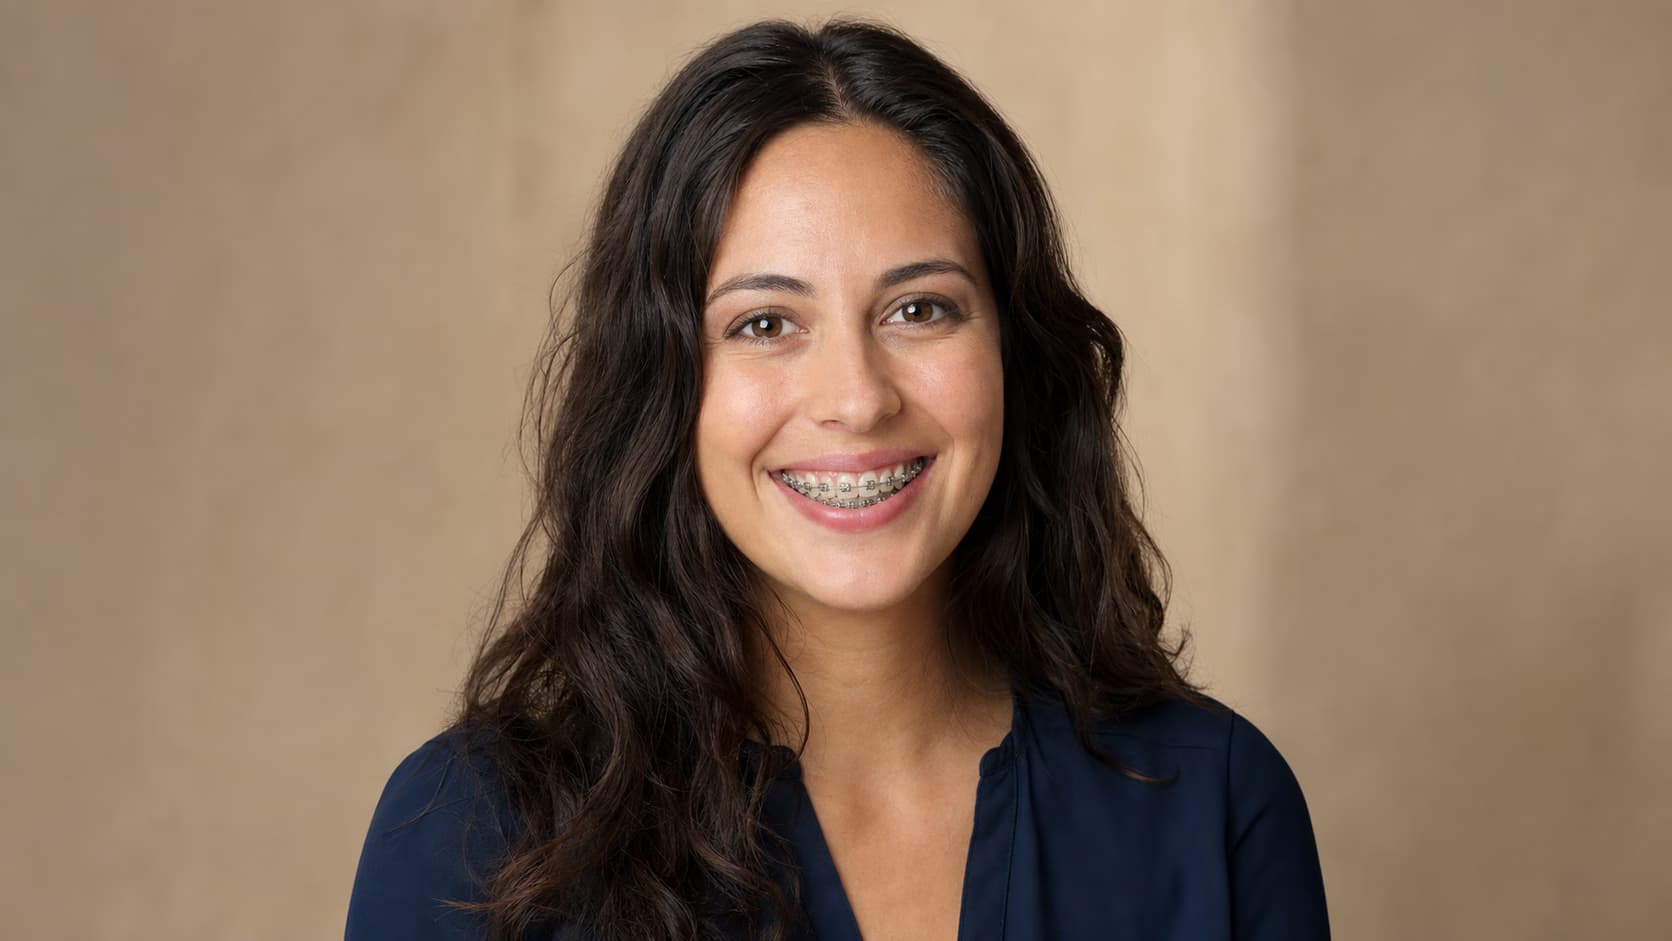
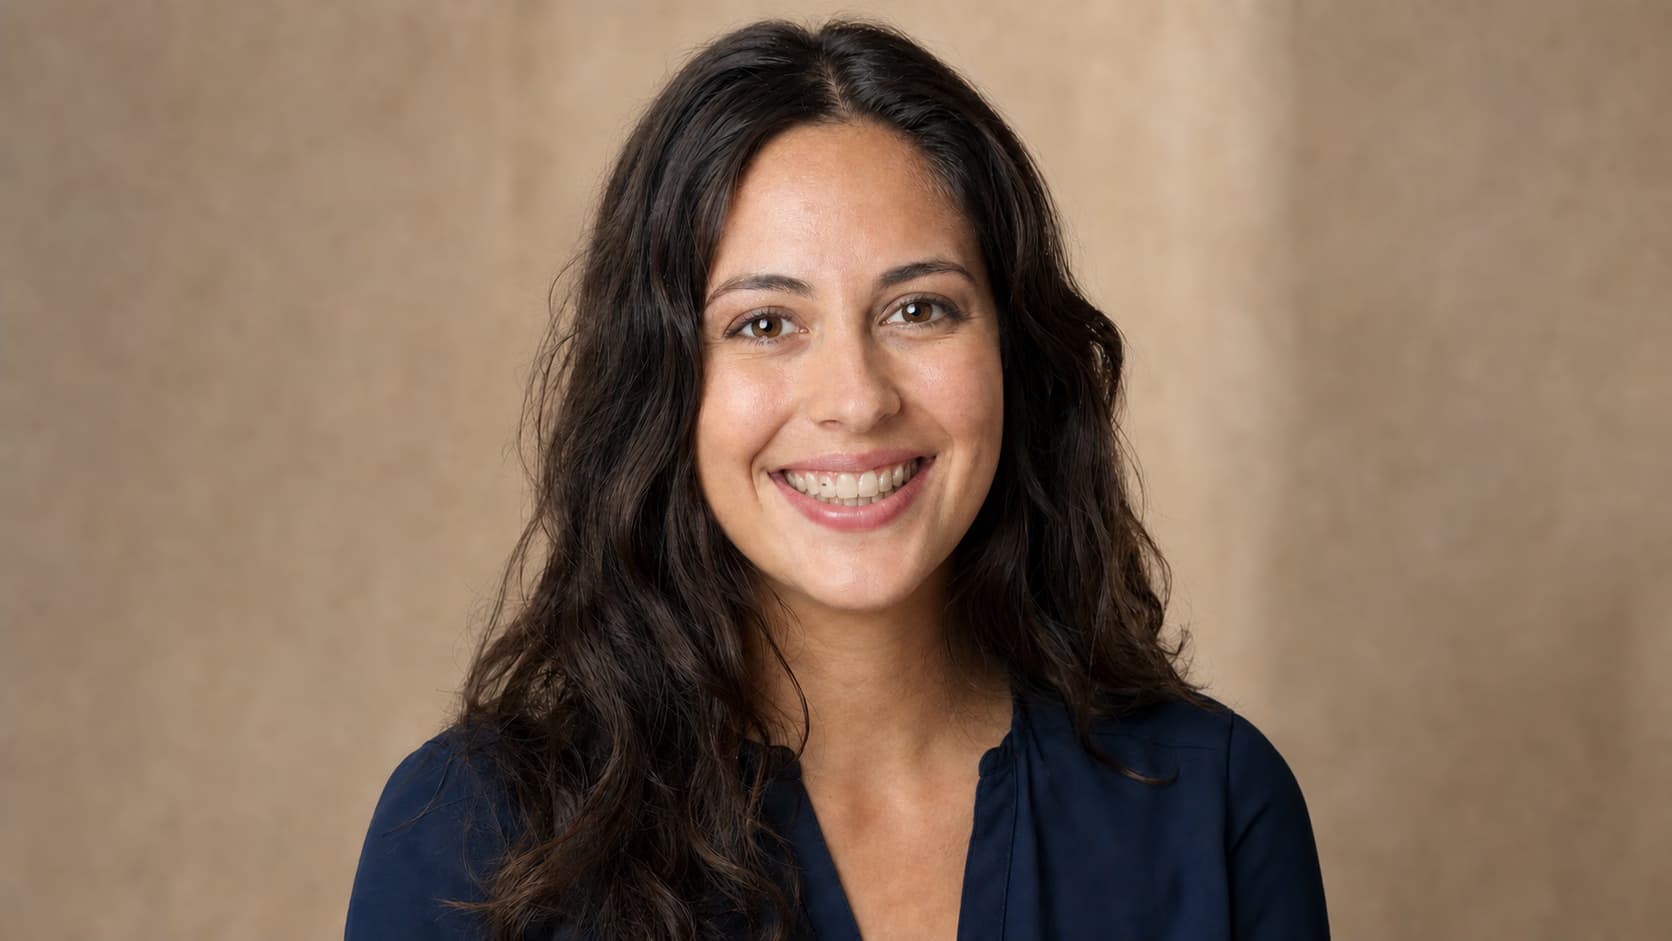
Remove Metal Braces from a Professional Headshot
Clean visible brackets and the archwire from a clear portrait while preserving the person’s current tooth spacing, natural enamel shade, gumline, lips, expression, face, and studio light.
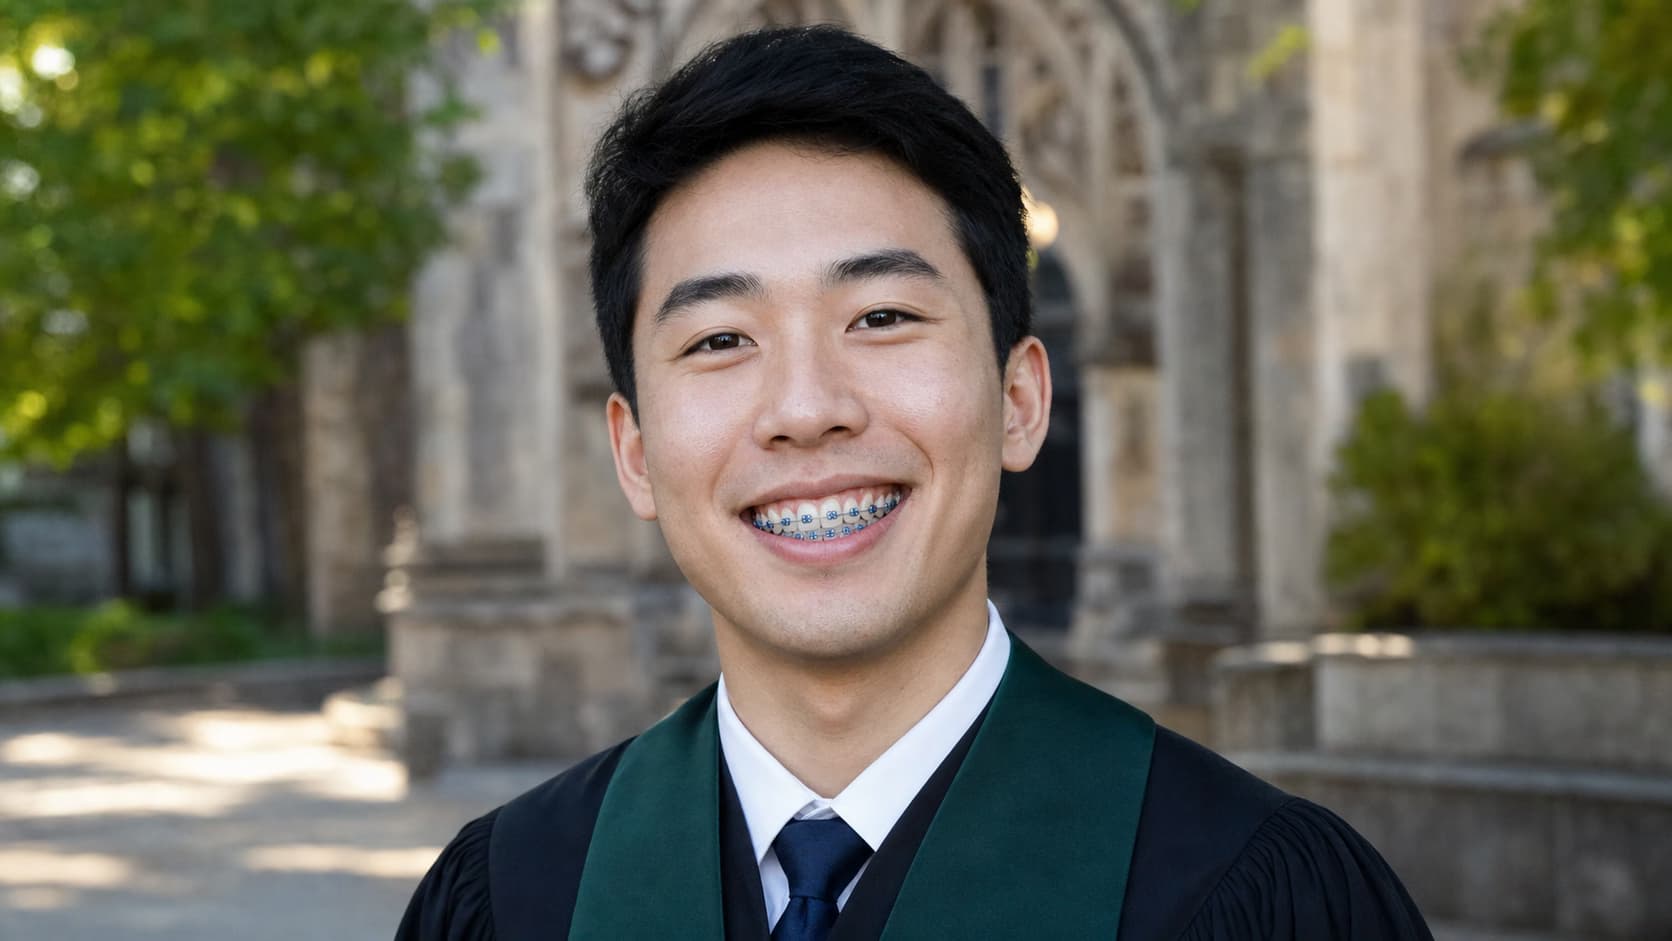
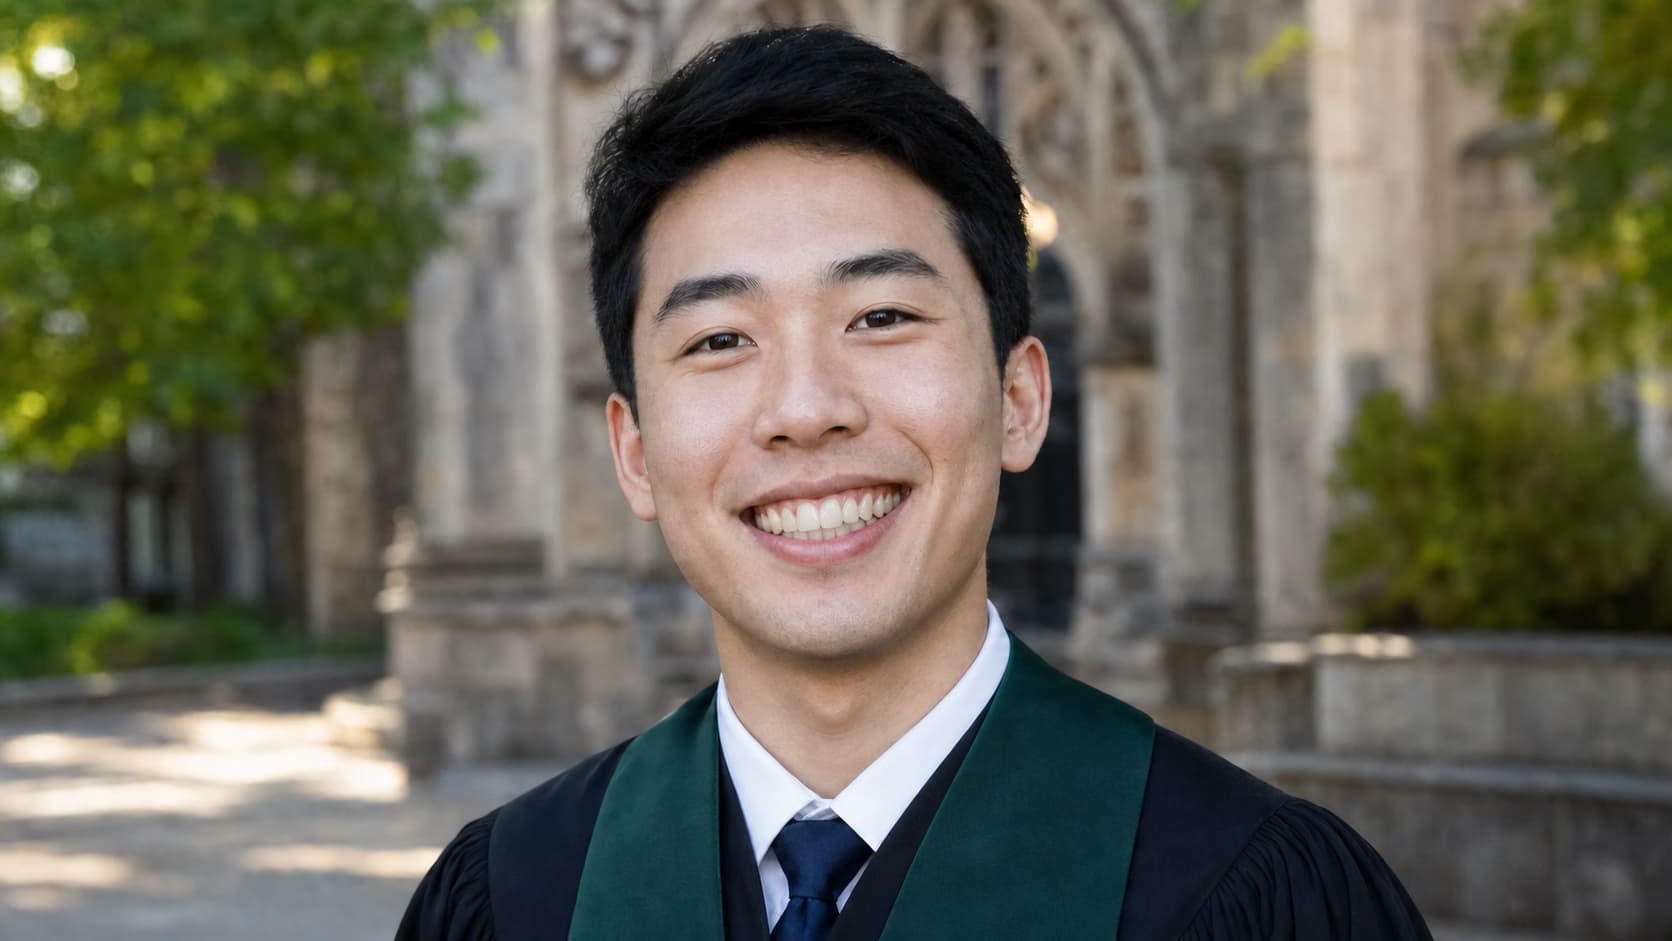
Keep a Graduation Portrait Natural
Remove colored elastics and visible braces from a milestone portrait without whitening the teeth, closing small gaps, changing the smile, or retouching the rest of the face.
Repair Braces in a Three-Quarter Selfie
Match the angle, mouth lighting, tooth edges, lip contours, and casual phone-photo character when the smile is not perfectly front-facing.
How to Remove Braces from Photo Online
Start from the best original file, keep the edit limited to the orthodontic hardware, and inspect the full smile before downloading.
Upload the Original Portrait
Choose a clear JPG, PNG, or WebP with the smile in focus. The original camera file usually contains more useful tooth and gum detail than a screenshot or social-media copy.
Identify the Person When Needed
For a group photo, name the person by position or clothing. If only one row needs editing, specify the upper or lower braces so the other teeth remain unchanged.
Keep the Braces-Only Prompt
The included instruction protects tooth alignment, shade, gaps, gums, lips, expression, identity, lighting, crop, and background. Add a short clarification without removing those limits.
Generate, Zoom In, and Compare
Check for leftover metal, repeated or fused teeth, an altered gumline, changed lips, and unexpected face edits. Regenerate with a narrower instruction if the smile no longer looks like the person.
When to Remove Braces from Photo
Use Remove Braces from Photo when the moment, expression, and person are already right and the only requested change is visible orthodontic hardware.
Graduation and Yearbook Photos
Create an optional braces-free version of a milestone portrait that cannot be restaged after treatment, while keeping the original file untouched.
Wedding and Family Memories
Edit one keeper from a ceremony, reunion, holiday, or family session without changing the people, expressions, clothing, or setting.
Professional Headshots
Prepare an alternate portrait for a profile, team page, speaker bio, or professional sign while keeping the person recognizable and the correction restrained.
Selfies and Social Portraits
Remove visible brackets and wires from a favorite phone photo without applying a beauty filter or redesigning the whole smile.
Old and Irreplaceable Photos
Make a separate display copy of an older portrait or family album image while preserving the unedited original and its historical context.
How to Remove Braces from Photo Naturally
The Remove Braces from Photo workflow depends on visible tooth evidence and a narrow prompt. Beautification language usually makes the smile less faithful, not more accurate.
Before You Generate
- Use the highest-resolution original photo you have.
- Check that the braces, tooth edges, lips, and gumline are visible and reasonably sharp.
- For a group photo, identify exactly which person should be edited.
- Keep the instructions that preserve tooth alignment, gaps, natural shade, gums, lips, expression, and identity.
- Save the result as a new edited version instead of replacing the original photo.
Common Problems and Fixes
A Focused Prompt-Based Editing Workflow
The page narrows the edit to one task, tells the model what must stay unchanged, and asks you to review the result before using it.
Task-Specific Prompt
A detailed instruction is prefilled for this exact edit, including the target change and the details that should be preserved.
Preservation First
The prompt treats your uploaded image as the base canvas and limits unnecessary changes to identity, composition, lighting, and background.
Review Before Use
Generative edits can vary. Zoom into the changed area and the surrounding details, then refine the prompt and regenerate when needed.
Built around honest editing boundaries
No fake recovery claims
AI generates plausible replacement pixels; it cannot recover hidden source detail that was never captured.
No imaginary controls
This workflow uses image upload and text prompts, not a brush, mask, color picker, or batch editor.
One clear task
The page stays within its stated use case instead of behaving like an unrelated general-purpose generator.
Remove Braces from Photo FAQ
How does the Remove Braces from Photo AI work?
Can I remove braces from photo online for free?
Can I remove braces from photo on iPhone or Android?
Will this show my exact smile after braces come off?
Does the tool whiten or straighten teeth automatically?
What kinds of braces can it remove?
What photos work best for braces removal?
Can I remove braces from one person in a group photo?
Will the rest of the face stay unchanged?
Are uploaded portraits kept private?
Can I use an edited result as a passport or official ID photo?
Remove Braces from Photo, Keep the Natural Smile
Use Remove Braces from Photo on a clear portrait to remove visible orthodontic hardware while keeping natural tooth color, alignment, expression, and identity.